
Installation and Operation
Connecting drip tape to a water pipe is only one part of installation. Reliable operation also depends on water supply, filtration, zone control, pressure management and access for flushing. Reviewing the layout before construction and testing the completed system can reveal problems while they are still straightforward to correct.
An installation should follow the requirements of the specific tape and equipment selected. Use the following sequence to organize the work, while checking each component against its own instructions.
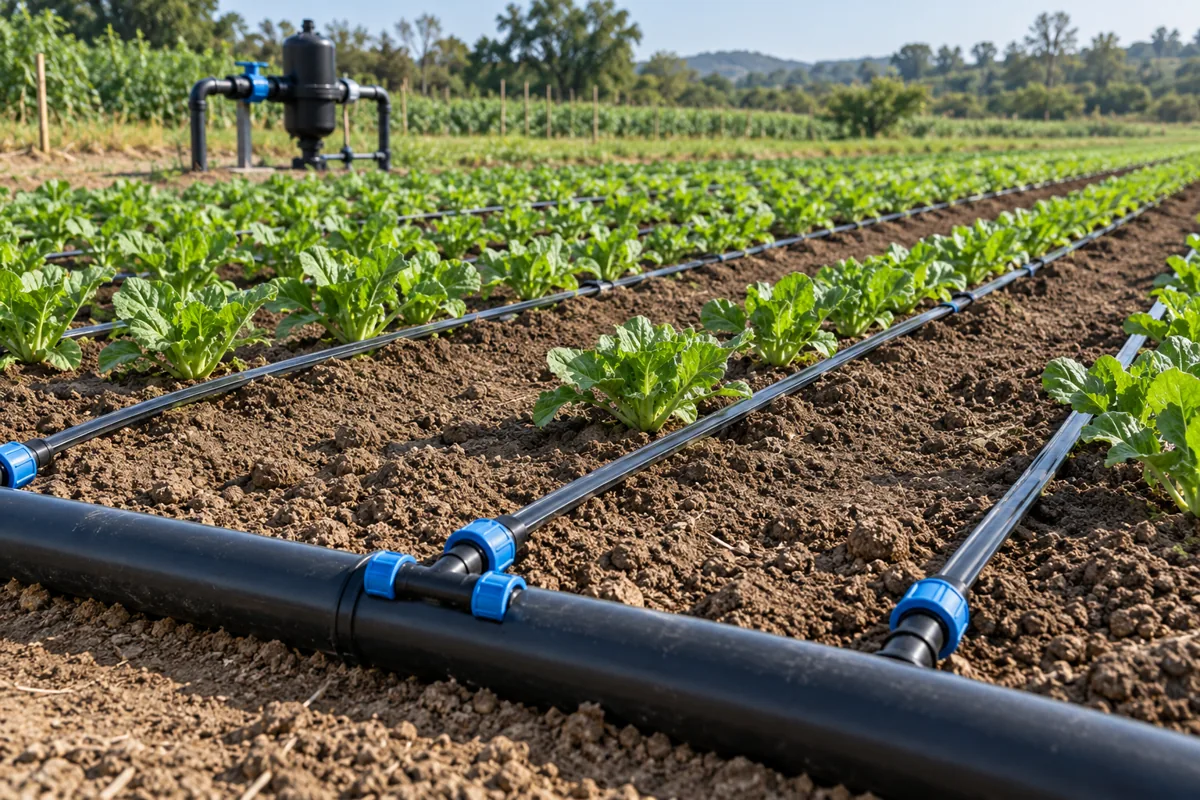
Plan the water supply layout
Draw the water source, mainline route, beds, roads, valves and significant elevation changes on a field sketch. Decide which areas will operate as separate irrigation zones. The combined demand of the lines in each zone must be compatible with the available water supply.
Fields with the same area can require different layouts because their shapes and row lengths differ. Before installation, check tape diameter, wall thickness, emitter spacing, roll length and fitting sizes against the order. Test one connector and its hole making tool before drilling every outlet. Keep valves and flushing points accessible for future maintenance.
Choose filtration for the water source
Select filtration using water quality, treatment flow and emitter requirements. Sandy well water, pond water and stored water can present different problems. A basic filter does not remove every type of contamination, particularly substances dissolved in the water. Determine whether pretreatment or more than one filtration stage is needed.
Install the filter in the indicated flow direction and leave room for cleaning or backwashing. Pressure measurement points before and after the filter can help monitor changes in pressure loss. Follow the equipment instructions for cleaning thresholds and procedures, and assign someone to inspect the filter regularly.
Control pressure at the appropriate location
Pressure at the pump outlet is not necessarily the pressure at the drip tape inlet. Mainlines, filters and valves introduce losses, while elevation changes affect local pressure. Position pressure regulation according to the system design and check the regulator’s flow range and inlet requirements.
Provide accessible pressure gauges at useful monitoring points, such as zone or header inlets. Confirm the tape’s permitted operating pressure before startup. Fill the system gradually and include air management equipment where the design requires it. A visibly firm tape does not prove that the pressure is correct, and thin wall tape should not be tested above its rated limits.
Lay the tape without stretching or twisting
Remove obvious sharp stones, hard crop residues and other hazards from the intended route. Allow the roll to turn smoothly during installation. Avoid dragging the entire roll, pulling the tape tight or introducing repeated twists. When using a laying machine, begin with a short trial and inspect the tape where it passes through guides and other contact points.
Follow the model’s instructions for emitter orientation and covering. Many surface installation products call for outlets facing upward, but the purchased product’s guidance should govern. Protect road crossings or change the route to avoid vehicle damage. Inspect the installed line for tight folds, flattened sections and incorrect positioning relative to the crop.
Make connections with compatible fittings
Use connectors designed for the tape dimensions and construction. Make clean cuts, insert the tape to the required depth and secure it according to the fitting instructions. Check seals where connectors enter the supply pipe. An unsuitable fitting should not be made to work by tightening wire around the tape.
Install end closures that can be reopened for maintenance. Keep repair connectors available for accidental damage, and check that they match the tape rather than only appearing similar. Correctly matched components reduce avoidable leakage and simplify future servicing.
Flush before closing the ends
Flush the mainline, submains and tape laterals in a controlled sequence to remove installation debris. The number of outlets opened at once must allow the flow needed for effective flushing. Opening every line simultaneously does not ensure that sufficient flushing flow reaches each one.
After flushing, fit the end closures and retain access for future flushing. Any planned fertigation equipment also needs its own commissioning checks, including backflow prevention and the required clean water flushing procedure. Follow the fertilizer and equipment instructions rather than assuming all injection arrangements work in the same way.
Test each irrigation zone
Operate zones according to the design. Look for leaks at the filter, valves, connectors and ends, and record representative inlet and end pressures. Compare discharge from emitters near the beginning, middle and end of selected laterals using equal collection periods and similar containers.
If differences are substantial, investigate pressure, line length, restrictions, leaks and clogging before extending runtime. Then examine soil moisture at the intended root zone. Water appearing on the surface does not by itself confirm that the crop is receiving suitable coverage.
Keep a record for routine operation
Label zones and record valve sequences, verified operating pressures and maintenance procedures. The person responsible for irrigation should take part in the handover. Recheck fittings after the initial operating cycles, because some installation issues become apparent only after repeated starts and stops.
For help checking component compatibility, send us a field sketch, your water supply details and the proposed tape specification. We can discuss matching drip tape, fittings and filtration products before installation begins.
Related articles
How to Choose the Right Drip Tape
Why Is Your Drip Tape Watering Unevenly
Need help selecting drip tape or matching irrigation components?
Discuss Your Requirements ↗Explore MEKA Products